Introduction
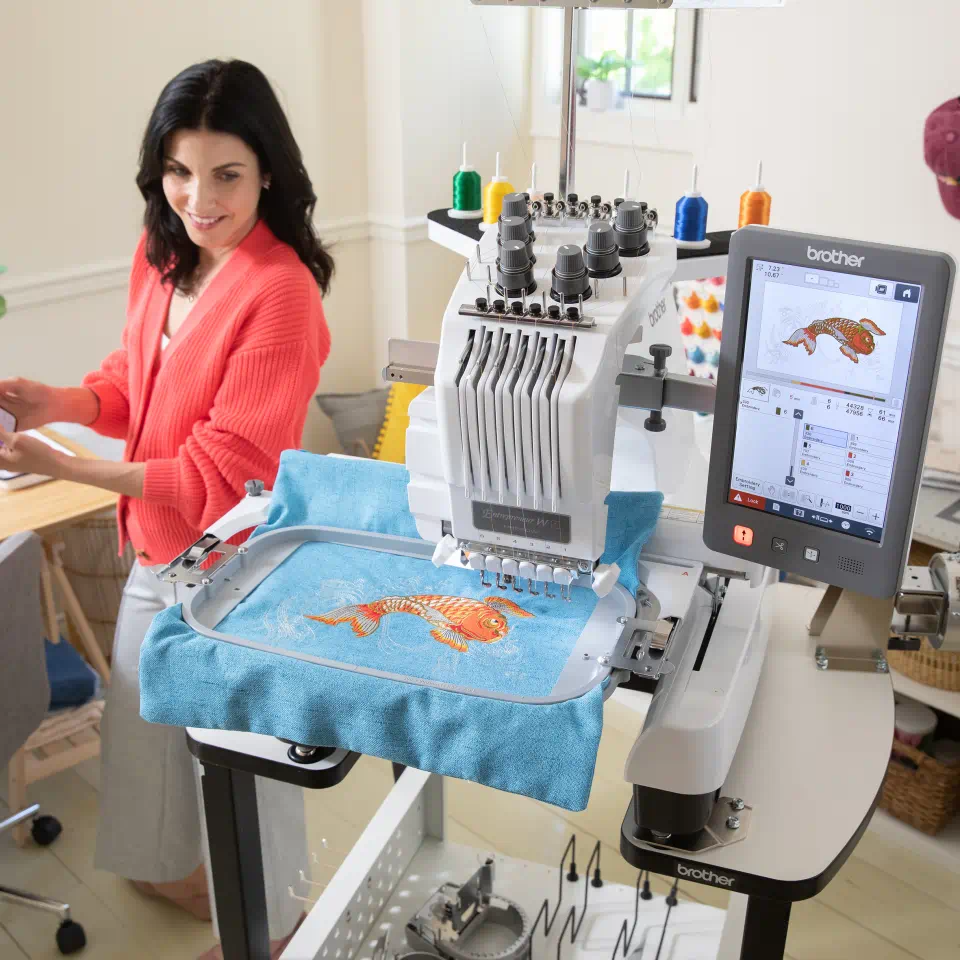
Embroidery has evolved from traditional hand-stitched patterns to intricate machine-driven designs. If you’ve ever wanted to transform a cherished photograph or unique artwork into an embroidery masterpiece, understanding how to convert JPG to EXP file is essential. The EXP format is specifically designed for embroidery machines, ensuring your designs are stitched with precision and clarity.
In this guide, “From Pixels to Precision: The Easy Guide to Convert JPG to EXP,” we’ll delve into the steps, tools, and best practices to make this conversion seamless, even if you’re a beginner.
Understanding the Basics
What is a JPG File?
A JPG (or JPEG) is a widely-used image format known for its ability to compress image data without significant loss of quality. It’s ideal for photographs and digital graphics, making it a common choice for storing and sharing images.
What is an EXP File?
An EXP file is a specialized embroidery format primarily used by Melco and Bernina embroidery machines. Unlike JPGs, which store pixel-based image data, EXP files contain detailed stitching instructions, including stitch types, directions, and thread colors, enabling embroidery machines to accurately reproduce designs on fabric.
Why Convert JPG to EXP?
Embroidery machines cannot interpret standard image files like JPGs. To bring your digital designs to life on fabric, they must be converted into a format that the machine understands—hence the need to convert JPG to EXP. This conversion translates visual elements into machine-readable stitching instructions, ensuring your design is accurately embroidered.
Preparing Your JPG Image for Conversion
Before diving into the conversion process, it’s crucial to prepare your image to ensure the best embroidery results.
1. Choose the Right Image
-
Simplicity is Key: Opt for images with clear lines and minimal intricate details. Complex images may not translate well into embroidery.
-
High Contrast: Images with distinct contrasts between elements help in defining stitch areas more effectively.
2. Edit and Clean Up
-
Remove Backgrounds: Tools like remove.bg can help eliminate unnecessary backgrounds, focusing on the main subject.
-
Adjust Colors: Simplify the color palette to reduce the number of thread changes during embroidery.
-
Enhance Clarity: Use photo editing software to sharpen the image and enhance details that need emphasis.
Tools for Converting JPG to EXP
Several tools can assist in converting your JPG images into EXP files. Depending on your expertise and requirements, you can choose from free software, online converters, or professional digitizing services.
1. Free Software Options
-
Ink/Stitch: An open-source extension for Inkscape, allowing users to create embroidery designs and export them in various formats, including EXP.
-
SewArt: Offers a user-friendly interface to convert clipart and images into embroidery files. Note that the free trial has limitations on color usage.
2. Online Converters
-
OnlineConvertFree: A straightforward platform where you can upload your JPG file and convert it to EXP without installing any software.
3. Professional Digitizing Services
For intricate designs or commercial projects, professional digitizing services can provide high-quality conversions. These services ensure that every detail of your design is accurately translated into stitch data.
Step-by-Step Guide to Convert JPG to EXP
Step 1: Prepare Your Image
-
Use photo editing tools to clean up the image.
-
Ensure the image is in high resolution.
-
Simplify the design by reducing colors and removing unnecessary details.
Step 2: Choose Your Conversion Tool
-
Decide between free software, online converters, or professional services based on your project’s complexity and your comfort level with the tools.
Step 3: Import and Digitize
-
Open your chosen software and import the JPG image.
-
Use the software’s tools to define stitch areas, select stitch types, and assign thread colors.
Step 4: Preview and Adjust
-
Utilize the preview function to simulate the embroidery.
-
Make necessary adjustments to stitch density, direction, and sequence to optimize the design.
Step 5: Export as EXP
-
Once satisfied, export the design in the EXP format.
-
Ensure the file is saved correctly and is compatible with your embroidery machine.
Step 6: Test Stitch
-
Before finalizing, perform a test stitch on a similar fabric to check for any issues.
-
Make adjustments as needed based on the test results.
Tips for Successful Conversion
-
Start Simple: Begin with basic designs to familiarize yourself with the conversion process.
-
Understand Your Machine: Ensure your embroidery machine supports the EXP format.
-
Regular Practice: The more you practice, the better you’ll understand the nuances of digitizing designs.
-
Seek Feedback: Share your designs with experienced embroiderers to gain insights and improve.
Conclusion
Transforming your favorite images into embroidered art is a rewarding endeavor. With the right tools and a bit of practice, converting JPG to EXP becomes a straightforward process. “From Pixels to Precision: The Easy Guide to Convert JPG to EXP” aims to equip you with the knowledge and confidence to embark on this creative journey. Whether you’re crafting personalized gifts or exploring a new hobby, the world of embroidery offers endless possibilities.