Many homeowners experience slow internet speeds, especially in large houses. One effective solution to this issue is using the Macard WiFi Extender to boost and extend your WiFi signal throughout your home. In this guide, we will walk you through the process of setting up the Macard WiFi extender and optimizing your home network for better performance.
How to Set Up the Macard WiFi Extender: 3 Methods
There are three primary methods to set up the Macard WiFi extender. Each method is straightforward, and we’ll explain each one in detail below:
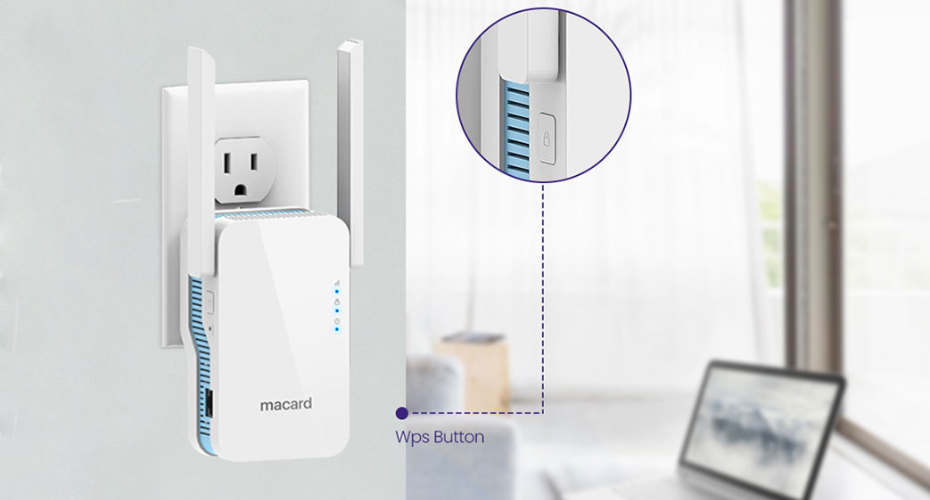
Method 1: Using the WPS Button (Wireless Setup)
This is the simplest and quickest way to connect the extender to your router without using any cables. Here’s how you do it:
-
Plug in your Macard WiFi extender near your router.
-
Plug the extender into a power outlet.
-
Ensure your router is turned on and functioning properly.
-
Press the WPS (Wi-Fi Protected Setup) button on your router.
-
Within a few seconds, press the WPS button on your Macard WiFi extender.
-
The extender’s light will start blinking, and when it turns solid, the connection has been established.
-
At this point, you can optionally access the extender’s web interface to customize settings. Note that the extender will inherit most of your router’s settings when connected using WPS.
Method 2: Using an Ethernet Cable
If you prefer a wired connection, you can set up the extender using an Ethernet cable. Follow these steps:
-
Position the Macard extender midway between the router and the area with weak WiFi coverage.
-
Connect one end of an Ethernet cable to your router’s LAN port.
-
Connect the other end of the Ethernet cable to the Macard extender’s Ethernet port.
-
Power on the Macard WiFi extender.
-
To complete the setup, you will need to access the web interface of the extender to configure it.
Method 3: Manual Setup (Web-Based Configuration)
For those who prefer a more hands-on approach or if the first two methods don’t work, the manual method allows you to configure the extender via the web interface. Here’s how to do it:
-
Place the Macard extender in the area with weak WiFi coverage.
-
Connect any device (computer, smartphone, or laptop) to the extender.
-
Use either an Ethernet cable or connect to the default WiFi network name of the extender.
-
Open your web browser and enter the URL go.macard.online or the IP address 192.168.10.1 into the address bar.
-
The login page will appear. Enter the default username and password, which can be found on the label of your extender.
-
Once logged in, you’ll be able to access the web interface of the Macard WiFi extender.
-
From the interface, select your router’s network name and enter the password.
-
Click the “Connect” button, and the extender will establish the connection after a few moments.
Once the setup is complete, you can customize your extender’s settings through the web interface.
Note: If you encounter any issues while using Methods 1 or 2, you can always use the Manual Setup method (Method 3) to configure your extender.
Conclusion
We hope this guide helps you set up your Macard WiFi extender with ease and improves the coverage of your home network. With detailed steps for each method, you can confidently extend your WiFi range and enjoy better connectivity throughout your home.
Frequently Asked Questions (FAQs)
Can I use the Macard WiFi extender with any router?
Yes, the Macard WiFi extender is compatible with most routers. You can use the WPS method to connect it wirelessly to any router, regardless of the brand. If your router doesn’t support WPS, you can always use the manual setup method to connect the extender.
How do I reset the Macard WiFi extender?
To reset the extender, locate the reset button on the back of the device. Press and hold this button for 10-15 seconds. The reset process will begin, and once it’s complete, you can reconfigure the extender using either the WPS method or the web-based setup.