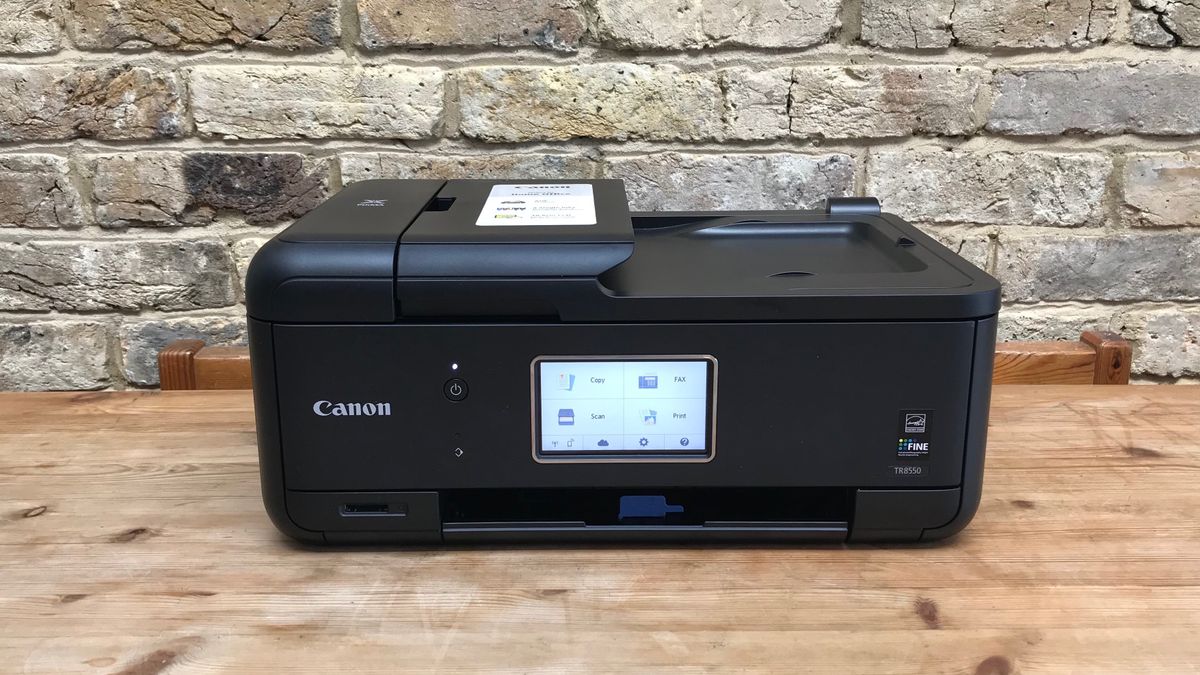
Canon TR4500 Easy WiFi Setup
The Canon TR4500 is a versatile all-in-one printer that offers printing, scanning, and copying capabilities. One of its most useful features is wireless connectivity, allowing users to print from various devices without requiring a direct cable connection. Canon tr4500 easy wifi setup is a straightforward process, whether you’re using a Windows PC, Mac, or mobile device. This guide will walk you through the easy steps to connect your Canon TR4500 printer to a wireless network.
Why Use WiFi for Canon TR4500?
Setting up the Canon TR4500 on a wireless network provides several benefits:
- Convenience – Print from anywhere in your home or office without needing cables.
- Multiple Device Access – Connect multiple computers, smartphones, and tablets to a single printer.
- Cloud Printing – Print documents from Google Drive, Dropbox, or other cloud services.
- Seamless Integration – Works with Apple AirPrint, Google Cloud Print, and Canon PRINT Inkjet/SELPHY app.
Step 1: Prepare for WiFi Setup
Before starting, ensure that:
- Your WiFi router is turned on and functioning.
- You know the WiFi network name (SSID) and password.
- The Canon TR4500 is powered on and ready.
Step 2: Connect Canon TR4500 to WiFi Using the Printer Panel
1. Power on the Printer
- Make sure the printer is plugged in and turned on.
- If the printer was previously connected to another network, reset the WiFi settings (refer to the user manual for details).
2. Access the Wireless LAN Setup Mode
- Press the Setup button (wrench and screwdriver icon) on the printer’s control panel.
- Use the arrow keys to navigate to WiFi Setup and press OK.
3. Select Wireless LAN Setup
- Choose Wireless LAN Setup and press OK.
- The printer will search for available networks.
4. Choose Your WiFi Network
- Use the arrow keys to select your WiFi network (SSID) and press OK.
- If your network does not appear, select Manual Setup and enter the SSID manually.
5. Enter WiFi Password
- Use the printer’s keypad to enter the WiFi password.
- Press OK to confirm and wait for the connection.
- Once connected, the WiFi indicator light on the printer will become solid.
Step 3: Install Printer Software on Your Computer
To enable printing from a computer, install the required drivers.
For Windows Users:
- Download the latest Canon TR4500 drivers from the Canon Support website.
- Run the downloaded file and follow the on-screen instructions.
- Select Wireless LAN Connection when prompted.
- The setup wizard will detect the printer and complete the installation.
For Mac Users:
- Go to System Preferences → Printers & Scanners.
- Click the + (plus) button to add a new printer.
- Select Canon TR4500 from the list.
- Ensure the connection type is WiFi and click Add.
- macOS will automatically install the required drivers.
Step 4: Connect to WiFi Using WPS Button (Alternative Method)
If your router supports WPS (WiFi Protected Setup), you can connect the Canon TR4500 quickly:
- Press and hold the WiFi button on the printer until the WiFi light flashes.
- Within two minutes, press and hold the WPS button on your router.
- The printer will automatically detect and connect to the WiFi network.
- Once the connection is established, the WiFi indicator on the printer will remain solid.
Step 5: Connect Canon TR4500 to Mobile Devices
To print wirelessly from a smartphone or tablet, use the Canon PRINT Inkjet/SELPHY app:
- Download the Canon PRINT app from the App Store (iOS) or Google Play Store (Android).
- Open the app and follow the on-screen instructions.
- Ensure the mobile device is connected to the same WiFi network as the printer.
- Select Add Printer → Register Printer.
- The app will automatically detect the Canon TR4500.
- Once connected, you can print directly from your mobile device.
Step 6: Test the Printer Connection
After completing the setup, confirm that the printer is connected correctly:
- Open a document or image on your device.
- Click Print and select the Canon TR4500 as the printer.
- Adjust settings if necessary and print a test page.
- If the test page prints successfully, the setup is complete.
Conclusion
The Canon TR4500 makes wireless printing easy and efficient. By following these steps, you can quickly connect your printer to a WiFi network and start printing from your computer, smartphone, or tablet. Whether you’re using the printer’s control panel, WPS button, or Canon PRINT app, the setup process ensures a hassle-free wireless printing experience.