In today’s digital age, graphics banners are essential tools for capturing attention, conveying messages, and driving engagement online. Whether you’re promoting a product, announcing an event, or simply enhancing your website’s aesthetic, a well-designed banner can make a significant impact. This guide will provide beginners with essential tips and tricks to master the art of graphics banner design.
Understanding Graphics Banner Design
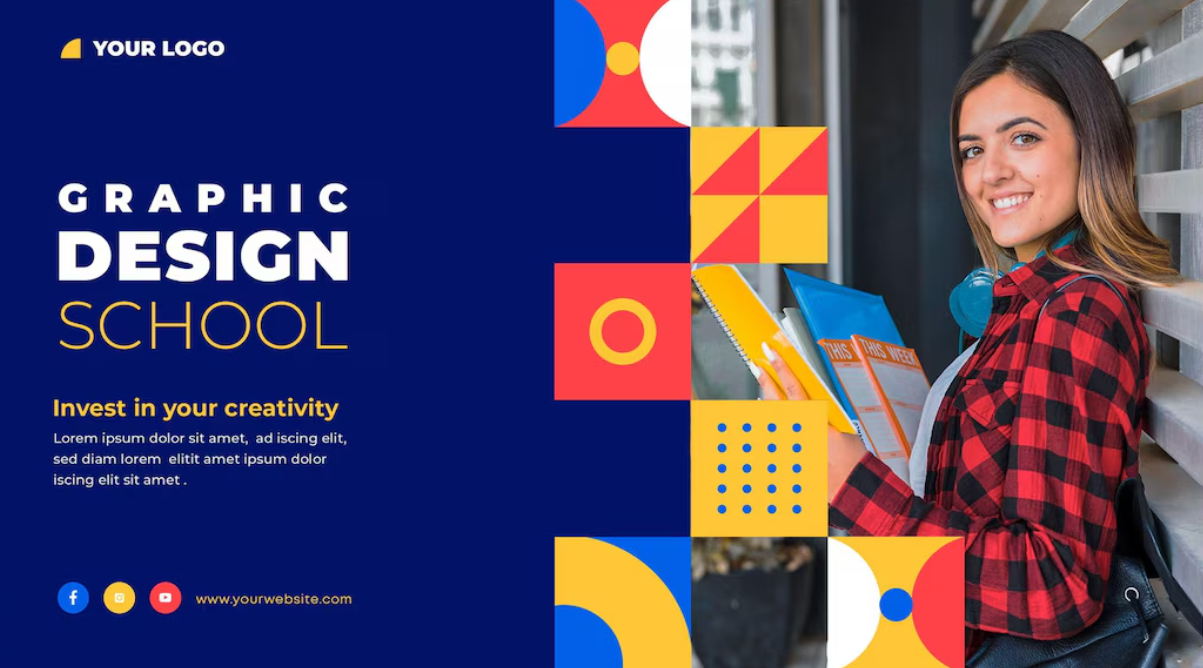
Graphics banner design involves creating visually appealing and effective banners that serve specific purposes, such as advertising, branding, or information dissemination. These banners can be static or dynamic (animated), and they are used across various digital platforms including websites, social media, and email campaigns.
Why Graphics Banner Design Matters
- First Impressions: A visually appealing banner can grab the viewer’s attention immediately and make a lasting first impression.
- Brand Identity: Consistent use of colors, fonts, and styles in banners reinforces brand identity and recognition.
- Conversion Rates: Well-designed banners with clear calls-to-action (CTAs) can significantly increase conversion rates and drive desired actions.
Getting Started with Graphics Banner Design
1. Define Your Objective
Before you begin designing, it’s crucial to define the objective of your banner. Are you promoting a product, announcing a sale, or building brand awareness? Understanding your goal will guide your design choices.
2. Know Your Audience
Consider who will be viewing your banner. Different demographics respond to different design elements. For example, a professional audience might prefer a clean, minimalist design, while a younger audience might be drawn to bold colors and dynamic elements.
3. Choose the Right Tools
Several graphic design tools cater to different skill levels and needs:
- Canva: User-friendly and ideal for beginners, offering a wide range of templates.
- Adobe Photoshop: More advanced, allowing for detailed and professional designs.
- GIMP: A free alternative to Photoshop, suitable for those with some design experience.
Essential Design Elements
1. Size and Dimensions
The size and dimensions of your banner depend on where it will be displayed. Common banner sizes include:
- Web Banners: 728×90 pixels (Leaderboard), 300×250 pixels (Medium Rectangle)
- Social Media Banners: 1200×628 pixels (Facebook Ads), 1080×1080 pixels (Instagram Posts)
Ensure you choose the correct size to avoid distortion and maintain quality.
2. Layout and Composition
A well-structured layout guides the viewer’s eye and highlights important elements. Use the following principles:
- Rule of Thirds: Divide your banner into a 3×3 grid and place key elements along the grid lines or intersections.
- Visual Hierarchy: Prioritize elements based on their importance. Headlines should be prominent, followed by images and CTAs.
3. Color Scheme
Colors evoke emotions and convey messages. Choose a color scheme that aligns with your brand and objective:
- Complementary Colors: Colors opposite each other on the color wheel, providing high contrast and vibrancy.
- Analogous Colors: Colors next to each other on the color wheel, creating a harmonious and pleasing look.
- Brand Colors: Use your brand’s color palette to ensure consistency and recognition.
4. Typography
Text is a crucial component of your banner. Consider the following tips:
- Font Choice: Select fonts that are readable and align with your brand personality. Avoid using too many fonts; stick to two or three.
- Font Size: Ensure the text is large enough to be read easily, especially on smaller screens.
- Contrast: Use contrasting colors for text and background to enhance readability.
5. Images and Graphics
High-quality images and graphics can make your banner more appealing. Ensure they are relevant to your message and not overly cluttered. Use vector graphics when possible for scalability without losing quality.
Advanced Design Tips
1. Use White Space Effectively
White space, or negative space, refers to the empty areas around design elements. It prevents your banner from looking cluttered and helps highlight key components. Use white space to create balance and improve readability.
2. Incorporate Branding Elements
Integrate your logo, brand colors, and fonts into the design to ensure brand consistency. This reinforces brand identity and makes your banners easily recognizable.
3. Add a Clear Call-to-Action (CTA)
A strong CTA encourages viewers to take the desired action, such as “Shop Now,” “Learn More,” or “Sign Up.” Make the CTA button prominent by using contrasting colors and strategic placement.
4. Optimize for Different Devices
Ensure your banners are responsive and look great on various devices, including desktops, tablets, and smartphones. Test your designs on different screen sizes to avoid any issues.
5. Experiment with Animation
Animated banners can capture attention and convey messages more dynamically. Use animations sparingly to avoid overwhelming viewers. Tools like Adobe Animate or online platforms like BannerSnack can help create simple animations.
Common Mistakes to Avoid
1. Overcrowding the Banner
Including too much information or too many elements can make your banner look cluttered and confuse viewers. Stick to the essentials and maintain a clean, focused design.
2. Poor Image Quality
Using low-resolution images can make your banner look unprofessional. Always use high-quality images and graphics to ensure clarity and impact.
3. Inconsistent Branding
Inconsistent use of colors, fonts, and logos can dilute your brand identity. Ensure all design elements align with your brand guidelines.
4. Weak CTAs
A vague or hidden CTA can result in missed opportunities. Make your CTA clear, compelling, and easy to find.
5. Ignoring Audience Preferences
Designing without considering your target audience can lead to ineffective banners. Always tailor your design to the preferences and behaviors of your audience.
Tools and Resources
1. Design Tools
- Canva: Offers a variety of templates and design elements, ideal for beginners.
- Adobe Photoshop: Provides advanced features for detailed and professional designs.
- GIMP: A free and open-source alternative to Photoshop, suitable for more experienced designers.
2. Stock Image Websites
- Unsplash: Free high-resolution images.
- Shutterstock: Extensive library of stock images, illustrations, and vectors.
- Pexels: Free stock photos and videos.
3. Font Resources
- Google Fonts: A large selection of free fonts.
- Adobe Fonts: High-quality fonts included with Adobe Creative Cloud.
- Font Squirrel: Free fonts for commercial use.
4. Color Tools
- Adobe Color: Create and explore color palettes.
- Coolors: Generate and save color schemes.
- Color Hunt: Browse curated color palettes.
Conclusion
Graphics banner design is a valuable skill that can significantly enhance your digital presence and marketing efforts. By understanding the fundamentals, using the right tools, and following best practices, beginners can create effective and visually appealing banners. Remember to define your objectives, know your audience, and continually refine your designs based on feedback and performance metrics. With practice and creativity, you’ll be able to design banners that capture attention, convey your message, and drive engagement.